---------------------------------------------------------
We built our chicken coop from scratch but decided to go the easy, pre-built route for our rabbit hutch. You can find rabbit hutches at many pet stores, but online will give you the best selection. We were able to find ours online.
There has been a successful movement by animal welfare activists to end the practice of keeping rabbits in tiny cages with no room to exercise. Generally, they agree a minimum hutch size of 6 ft x 2 ft x 2 ft is a good place to begin, but having an attached, secure exercise run of at least 35 square feet (and at least 2 feet tall) per rabbit is also needed. This will allow the rabbits room to stretch out, hop about, and engage in natural rabbit behaviors. The hutch acts as a secure “home base” area, enclosed in a much larger exercise yard.
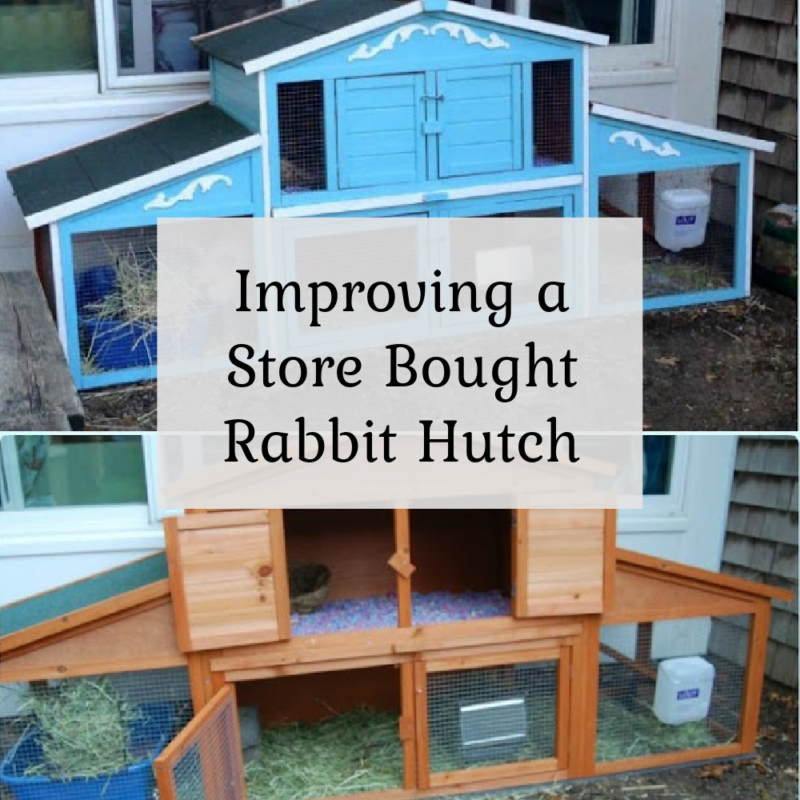
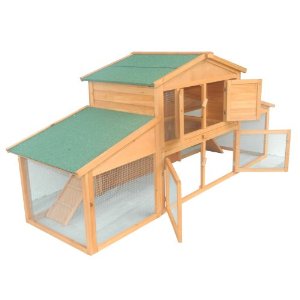
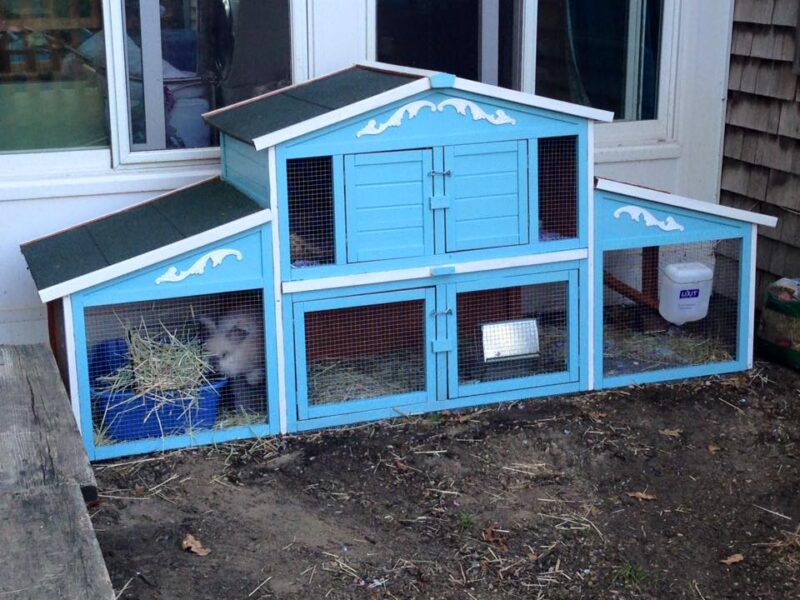
The model we ordered is over 7.5 feet long, 3.5 feet high, and features two levels. Enough space to give two rabbits a roomy, secure home when they are not out in their play yard. Our chicken coop and garden beds are all painted in fun, bright colors – so I knew this hutch was going to have to make some changes to fit in with our little farm!
This is where we started:
It’s not all about looks
Yes, I wanted to change the way our hutch looked, but there were a couple of safety/practical changes we had to make first.
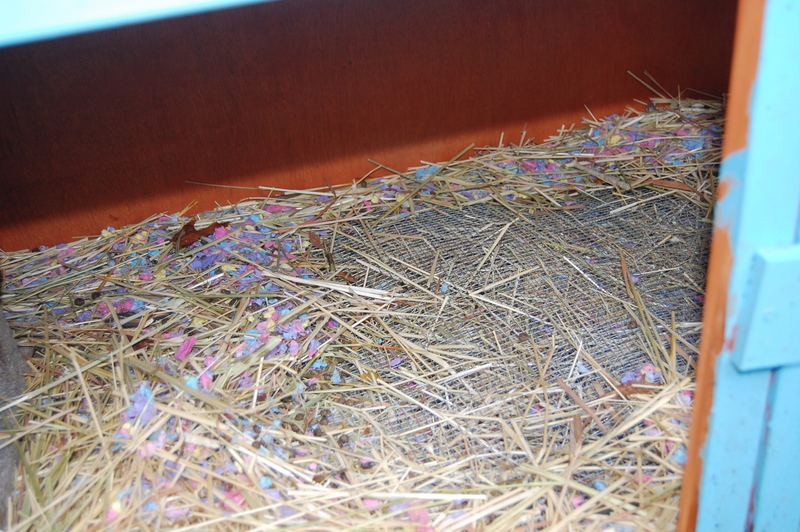
First, and most important, because this hutch is going to be used outdoors, the bottom floor needs to be covered. This hutch’s lower floor has an open bottom, which is fine if it is being kept indoors. Outdoors, however, you need to keep the rabbits safe from predators who might dig in and you need to stop the rabbits from digging out. At first, we covered the bottom with hardware cloth wire. We securely screwed it into the frame and then scattered hay to make it easier on the rabbit’s feet.
If you live in a warm climate, the ground-level wire floor might work fine (although it was difficult to keep clean). We live in an area that gets snow and has very rainy seasons. We knew we would want to raise the hutch off the ground so it wouldn’t fill with snow or mud. You should never have a rabbit living in a hutch with a raised floor made of wire. The weight of the bunny walking on the unsupported wire is very bad for their feet. The stand we built has solid ceramic tile flooring. click here to read about the raised base we built.
Improved security
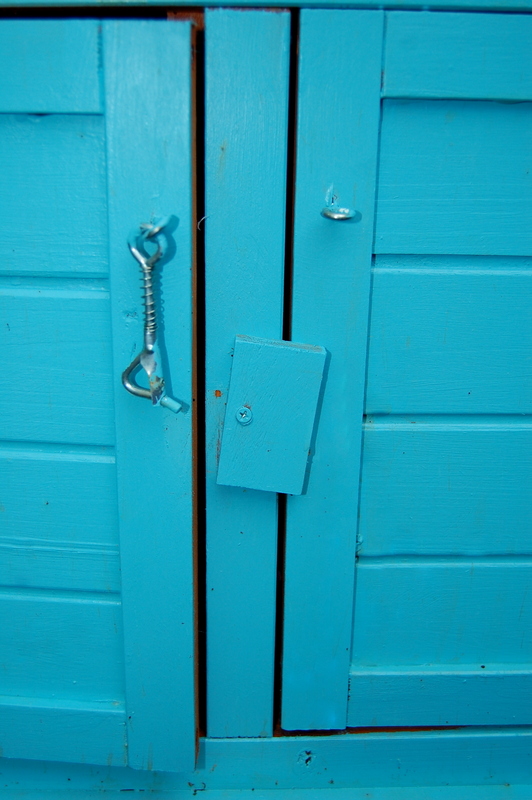
Another hutch improvement we made was to the latches. Again, if this were an indoor hutch, the latches would be fine, but I was worried these latches could be manipulated by a resourceful raccoon. So in addition to the wood latch that came with the hutch, we added some secure, spring-loaded eye hooks. The rabbits are out in their yard during the day and locked in the hutch at night when the predator risk is higher. The extra piece of mind is totally worth a couple dollars for better latches!
Giving them more floor space
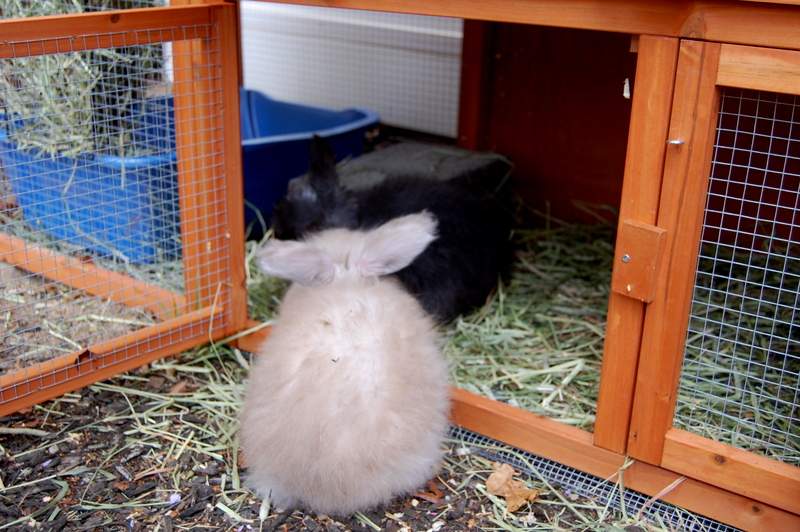
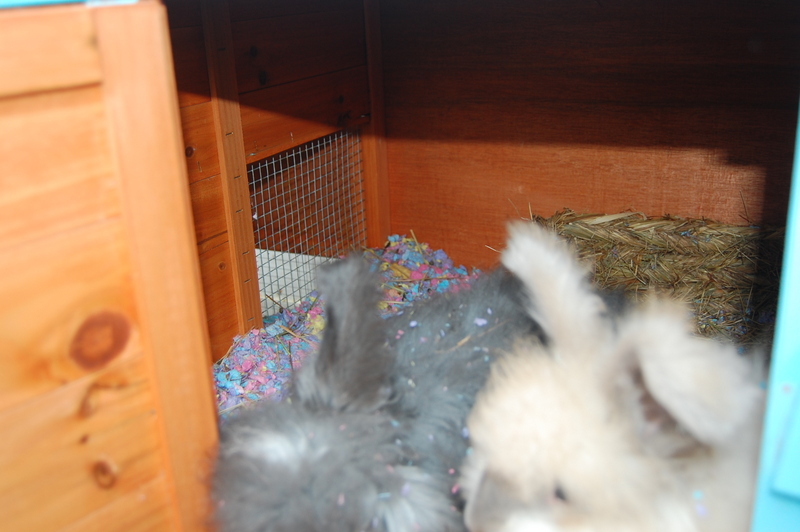
This model rabbit hutch came with two ramps to get in and out of the upper room. We decided it was more important to give them more space downstairs without an extra ramp getting in the way. So we removed one of the ramps and covered the opening with hardware cloth to keep the rabbits from falling out the hole while still allowing extra ventilation.
OK now the pretty stuff!
In addition to making my hutch more fun; quality, exterior paint is a great way to protect the wood….and boring paint colors cost the same as fun colors, so why not? I only painted the outside surfaces of the hutch to limit the rabbit’s exposure to the paint in case a curious rabbit nibbled on the wood. The paint color is “Shallow Sea” from Behr. I decided to compliment the blue with some white trim. As a finishing detail, I picked up some decorative trim details and used wood glue to adhere them to the front.
I’m really happy with it – what do you think?


Kelly
Friday 1st of May 2020
Hi Liz, I am trying to figure out how and where to put their potty area. I have the same hutch as you and am now building a table to prop it up and will then build in sod for the area below it for them to have a third floor to play. Currently, I am using hay EVERYWHERE and they seem to potty EVERYWHERE. how do I get them to potty in one place and keep their food area clean? I will definitely be using your cooling idea also! That is fantastic. thank you for being a bunny expert! because I am not :)
Liz
Friday 1st of May 2020
You will get there! In my hutch, I took out the ramp on the left because they didn't need two ramps. Cover the whole in the upstairs with wire so they don't fall out. That gave me space on the lower level to put their litter box. You can get some tips on litter training rabbits here: https://thecapecoop.com/litter-box-training-rabbits/ they will still poop a bit outside the box to mark their territory, but the vast majority goes in the box. Then I just have a little hand broom and dustpan to sweep up the messes.
Mia
Thursday 2nd of April 2020
Hi thank you so much for this article!! I’m thinking of moving my rabbit and my soon to be second rabbit outside in the same hutch you have. I think the paint job on it is beautiful and I think the idea of replacing the locks was a great idea. I want to ask you a of couple questions though. How did you remove the ramp on the lower floor? & With the opening left on the top floor, how did you stick the wire to the hutch? Thank you so much and your rabbits are adorable:))
Liz
Friday 3rd of April 2020
Hi Mia, it's a great hutch, you will love it! I never installed the second ramp and put up the wire in the upper part during the assembly of the hutch. If yours is already assembled, you can unscrew the roof panel on the side you want to remove the ramp for easy access
Deana
Wednesday 5th of June 2019
THANK YOU FOR THE INFORMATION YOU SHARE. I HAVE SMALL BUNNIES THAT I RESCUED AND HAD NO KNOWLEDGE ON WHAT THEY NEEDED.. IM FAST AT LEARNING ALL THAT IT TAKES. THANKS TO YOU IM EVEN MORE ABLE TO TAKE CARE OF THEM! I BOUGHT THE SAME HUTCH YOU EMBELLISHED! I LIVE IT! I HAVE GONE BACK TO SEE WHAT YOU HAVE NEW TO SAY! IM 71 AND REALLY HAPPY TO GAIN MORE NEW THINGS FEOM YOU. THANK TOU! I LIVE IN TEXAS ON THE COAST!
Liz
Thursday 6th of June 2019
Congratulations on new little ones Deana, I hope you enjoy them! :)
debbie novak
Saturday 26th of May 2018
We bought the same hutch. These are some good ideas. You talked about taking if off the ground which we are thinking about. What ideas do you have in building it off the ground. Since you would have to put legs on it and a floor. Any ideas on this
thanks
Liz
Saturday 26th of May 2018
Hi Debbie, you can read my tutorial for the base I built here: https://www.thecapecoop.com/building-a-raised-base-for-a-rabbit-hutch/
Melissa
Monday 30th of April 2018
Hi, This is a great article. I have 2 bunnies and I am looking to buy a hutch and modify it a bit. I am considering the hutch you have in the picture. How is it holding up since your original post? Is there anything further you would or did add to it?
Liz
Monday 30th of April 2018
Hi Melissa, the hutch is fairing well. We have had pretty rough winters and I’m happy to say it’s holding up. I would say this hutch is definitely better used inside, but after 3 years it’s still together and keeping out the elements. I expect it will need to be replaced in the next couple years though. There are places where the wood is starting to look a little rotted because it’s so thin. The paint has definitely helped not just making it look nicer but preserving the wood. Building the base is a definite must do, it keeps the rabbit safer but also keeps the wood away from the moist ground. And we did end up needing to brace the top floor with our fat bunnies it needed a little more support lol