---------------------------------------------------------
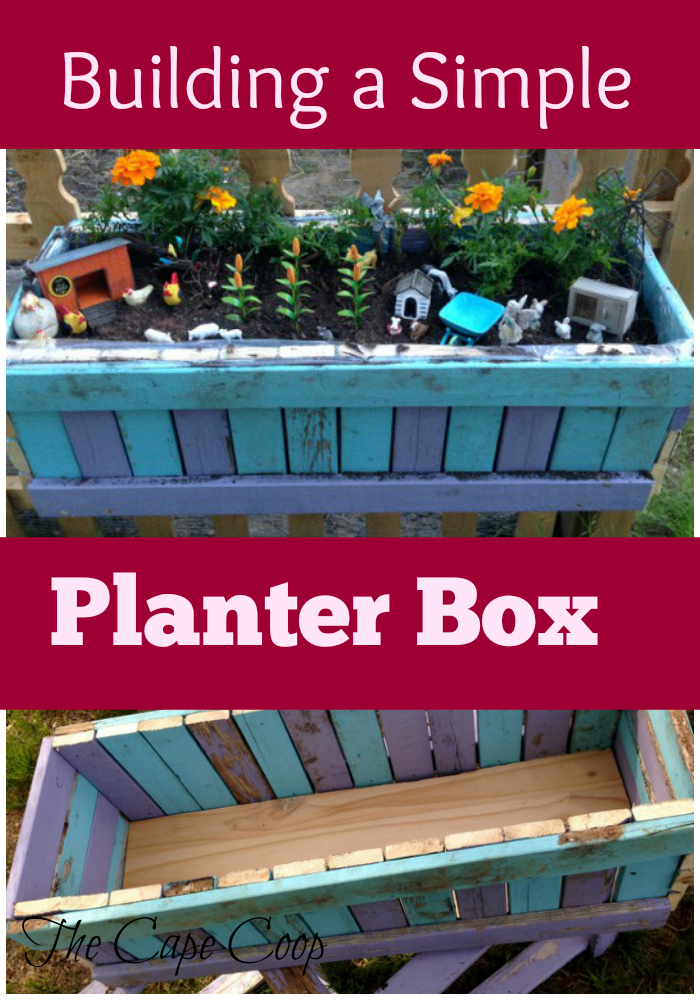
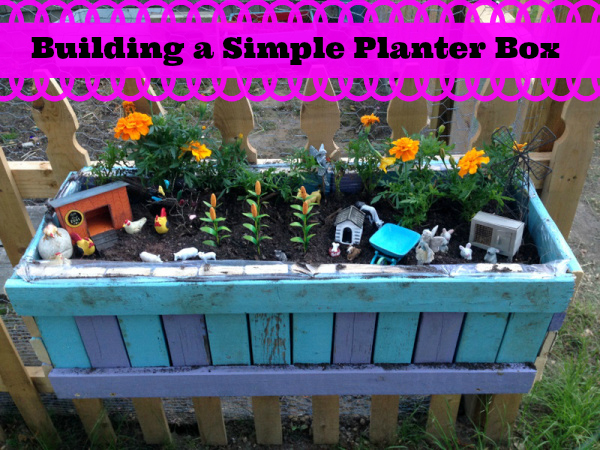
When we added the rabbits to the farm, their play yard took over the area where my daughter had built her fairy garden. I also decided to replace the bulky wooden tomato cages I had built several years ago with easier to store, folding metal cages. Trying to decide what to do with the old tomato cages provided me with the solution to the fairy garden problem – I love it when things work out that way! I hate to waste perfectly good wood, so I re-purposed the cages into cute little planter boxes to hang along the rabbit & garden fence.
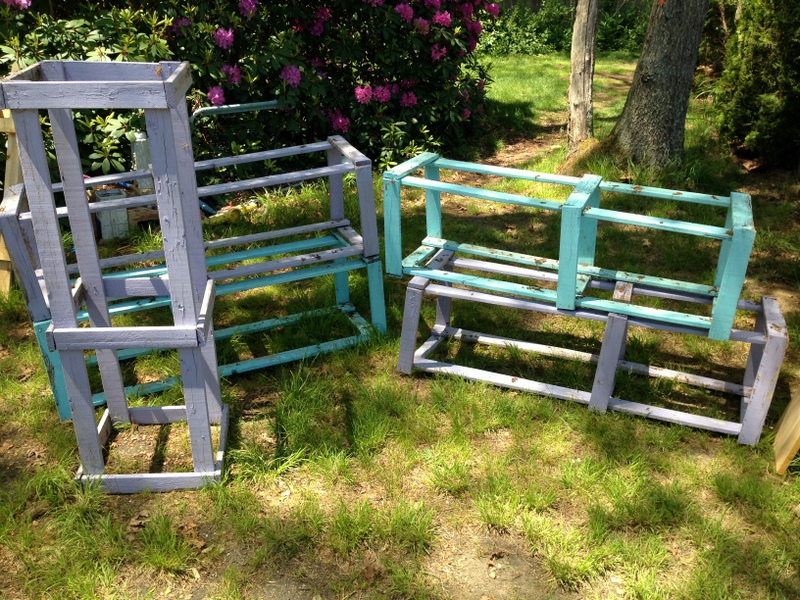

First (and most time consuming) was pulling apart the old tomato cages. I had made the cages out of 1×2 boards. Carefully, I pulled apart each section and removed all the old nails.
Everyone was very curious about what I was doing.
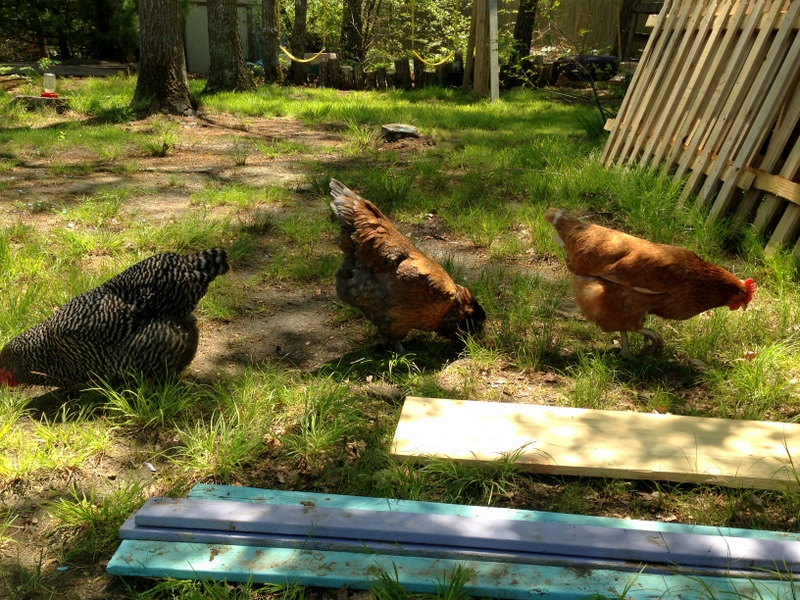
Once the cages were apart, the slats were cut to size.
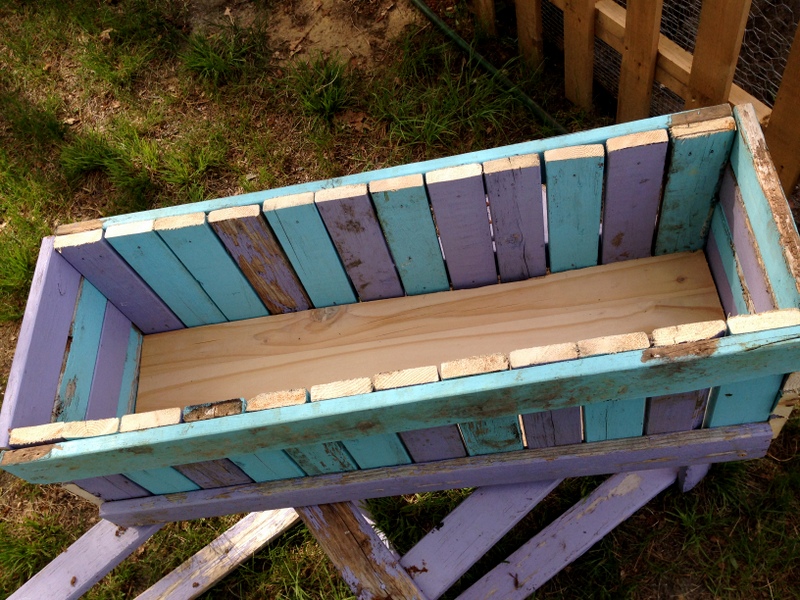
I assembled the front and back sides of the box using nails & two long horizontal boards to hold the vertical slats in place.
I attached the finished front and back panels to a 1×10 board I was using for the bottom.
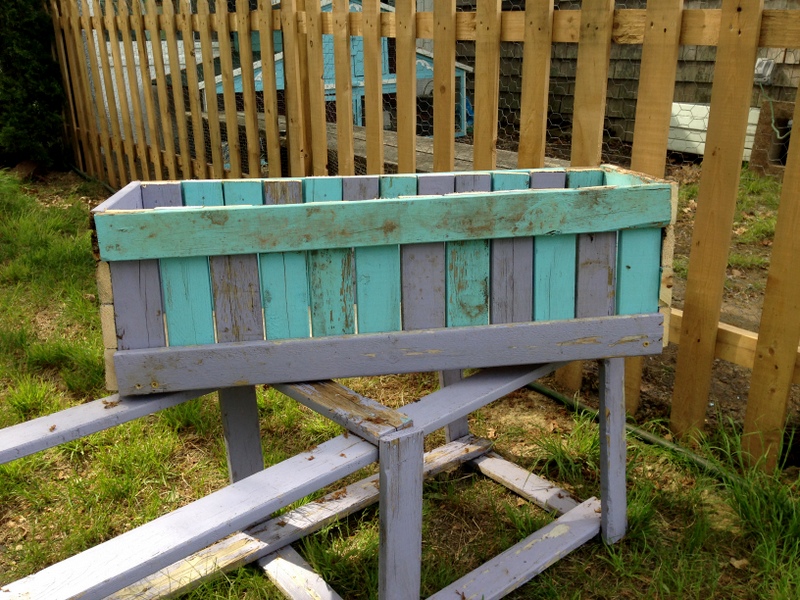
Next, I used some more of the salvaged cage boards horizontally across the sides to connect the front & back
The tomato cages were already painted blue & purple to match our chicken coop. Over the years, they have faded and chipped. I think they give the boxes a nice, rustic look (plus I hate painting so I don’t want to repaint them!).
I lined the boxes with plastic to both help contain the soil and protect the wood, and drilled a few holes in the bottom for drainage.
Lastly fill with compost, plant & enjoy 🙂
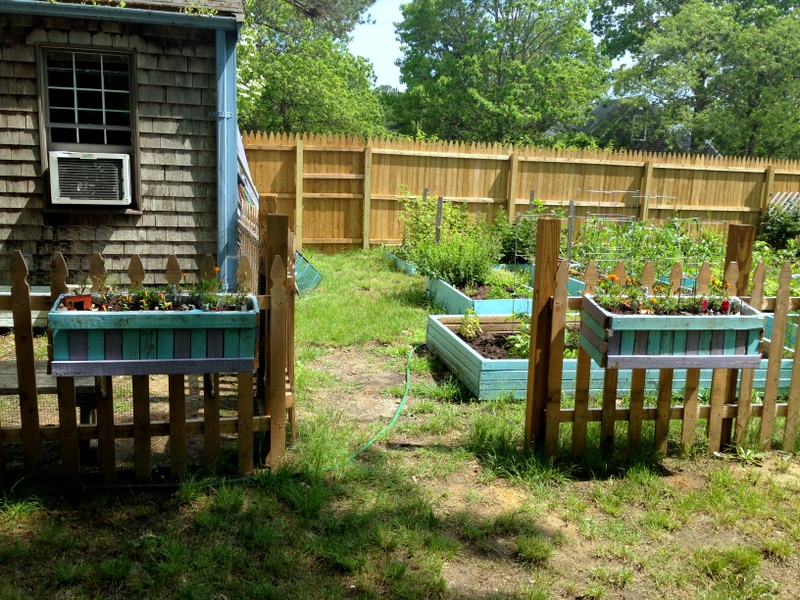
I attached the boxes to the fence panels with screws. I had one set of shelf brackets in my closet, so I used them on the box on the left and they worked out perfectly. You can see the box on the right is starting to sag already with the weight of the soil, so I will need to buy another set of brackets.
It cost me zero dollars to put the two boxes together as all the wood was salvaged from my garden & shed, the plastic & nails were leftover from other projects and the soil came from our compost pile. The only costs will be the extra set of brackets & some flowers – not too shabby!