---------------------------------------------------------
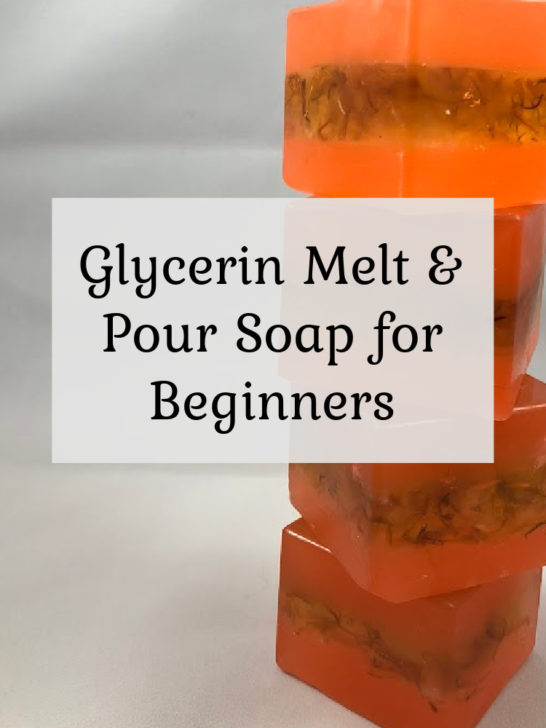
Want to get started with soap making but don’t know where to start? Glycerin “melt & pour” soap is a great way for beginners to wade into the wonderful world of soap making. Because the soap base is pre-made for you, melt & pour soap has several advantages over traditional cold process soaping for beginners.
Glycerin “Melt & Pour” Soap Advantages
- The soap base already has the lye mixed in and neutralized, so there is no handling of dangerous chemicals. Even your kids can get in on the fun! No risk of chemical spills or burns or lye fumes in your kitchen.
- There is no cure time involved. Cold process soap has to cure 4-6 weeks before using it. Glycerin soap is ready to use as soon as it hardens (usually an hour or so depending on how thick your mold is)
- Brighter scents, colors, & benefits from essential oils. In cold process soap making, the oils & lye combine together in a chemical process called saponification. That process can produce high heat and harsh conditions for delicate scents & oils. Most times the therapeutic benefits of essential oils get destroyed in the process and delicate scents can disappear if not anchored properly. In glycerin soap, what you put in is pretty much what you get. You can use less fragrance & essential oil because of this. The coloring you add in cold process soap can be affected and changed by the saponification process. In glycerin soap, unless the fragrance interferes, the color will stay the same.
- You can focus less on formulating recipes & more on making fun, creative soaps
- Saves time for busy soap makers – no measuring & melting oils, water & lye and waiting for everything to come to the right temperatures
Sounds perfect right? Why do people even bother with cold process soap making? There are also a few disadvantages to Glycerin soap.
Glycerin “Melt & Pour” Soap Disadvantages
- Less control over ingredients. There are several types of glycerin soap bases for sale, everything from goat’s milk to hemp oil to aloe vera, but you still can’t control all the ingredients like you can when you make the base yourself. Most bases have synthetic compounds added to aid in emulsifying and manufacturing. Because of that, many people would not consider glycerin soaps to be “natural”. Be sure to read the ingredients list on the base you buy, and buy from quality suppliers, some are better than others. You can make your own base, but it will involve working with lye
- Doesn’t last as long – because melt & pour bases are designed to melt, they will not last as long in the shower as a well-cured bar of cold process soap
- Glycerin dew – melt & pour soap bases have extra glycerin added during the manufacturing process. It makes the soap easier to work with and is great for your skin. Glycerin is a natural humectant, meaning it will draw moisture from the air, leaving it in your freshly washed skin. Unfortunately, the soap sitting on your counter will draw moisture from the air into itself and will “sweat” out the excess. Small beads of moisture will form on the soap (especially when it’s humid). They are not dangerous, but can be a cosmetic issue and can make your soap feel slimy. You can avoid this by wrapping your glycerin soap tightly in plastic as soon as it’s hardened. Wrapping it will keep it from sweating while stored, but there is no way to stop the sweating while it sits out in your soap dish. If you live in a humid climate, it is a good idea to buy “low sweat” glycerin soap bases and/or run a dehumidifier in your soap room during humid months.
- No swirls – you can’t really make the intricate swirls that you can with cold process soap. When you try to make swirls, most times the colors just end up blending together rather than staying separate. With cooler temperatures and practice you can make some swirly patterns, but nothing like what you can do with cold process. But you can do all kinds of embeds, layers, and fun designs with glycerin soap!
Let’s Get Started!
Equipment you will need:
- a few heat proof bowls (plastic, glass or metal is fine)
- rubber spatula
- knife
- microwave or double boiler
- soap base (click here to see Brambleberry’s soap base selection)
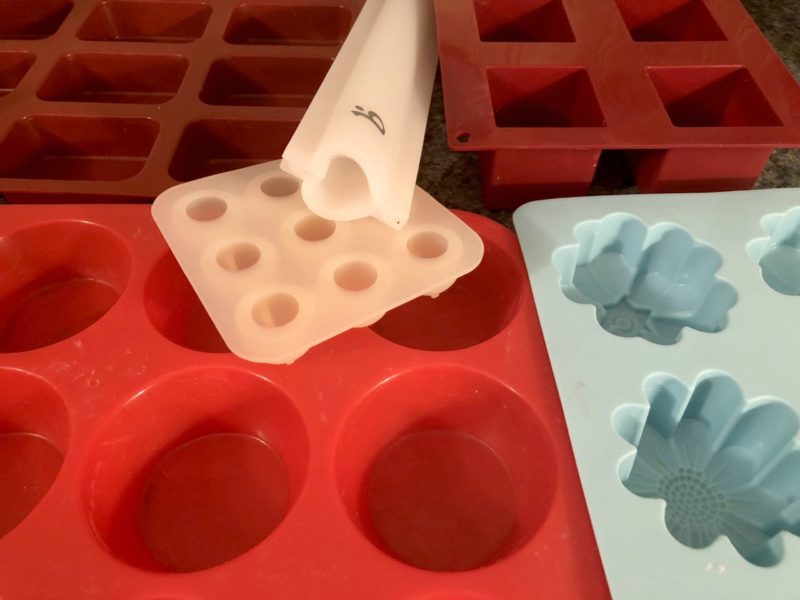
- soap mold
- colorants (and glycerin if using powdered color)
- fragrance or essential oils
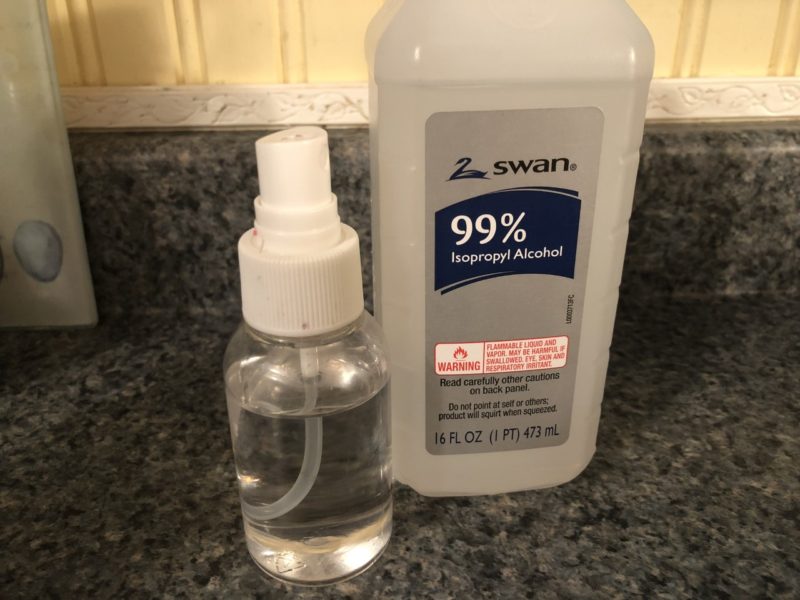
- Isopropyl (Rubbing) Alcohol in a spray bottle (try to find 99% if you can)
- infrared thermometer (really helpful but optional)
Step 1
Determine how much soap base you will need for your mold. You can use plastic or silicone molds to make either individual soaps or a soap log mold. Silicone baking molds make great soap molds and can easily be found at craft stores or online. To determine how much soap base you will need for your mold, fill the mold with water and then pour the water into a measuring cup to see how many ounces it holds. Soap base generally comes in 1 pound (16 oz) blocks.

Step 2
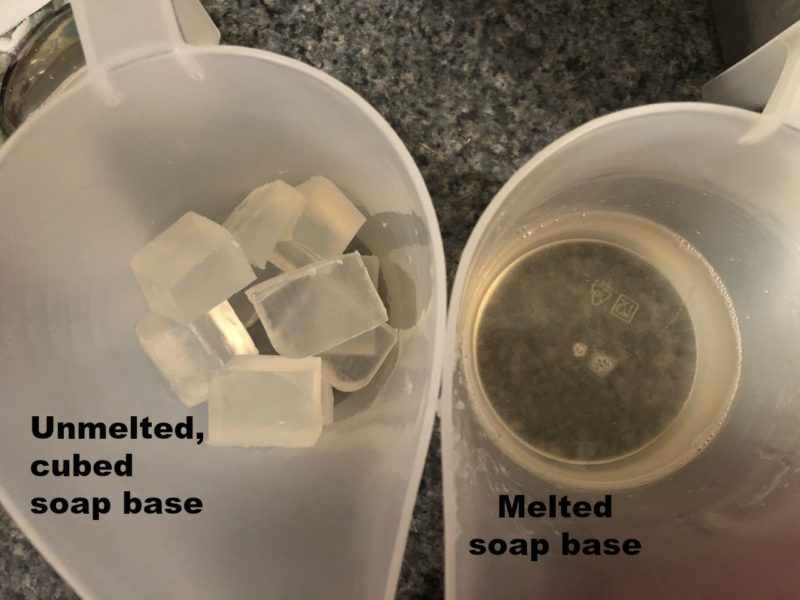
Cut up your soap base into roughly 1 inch cubes using a sharp knife.
Step 3
Melt in the microwave or on a double boiler. In the microwave, do short 30 second bursts followed by stirring with your spatula.
Step 4
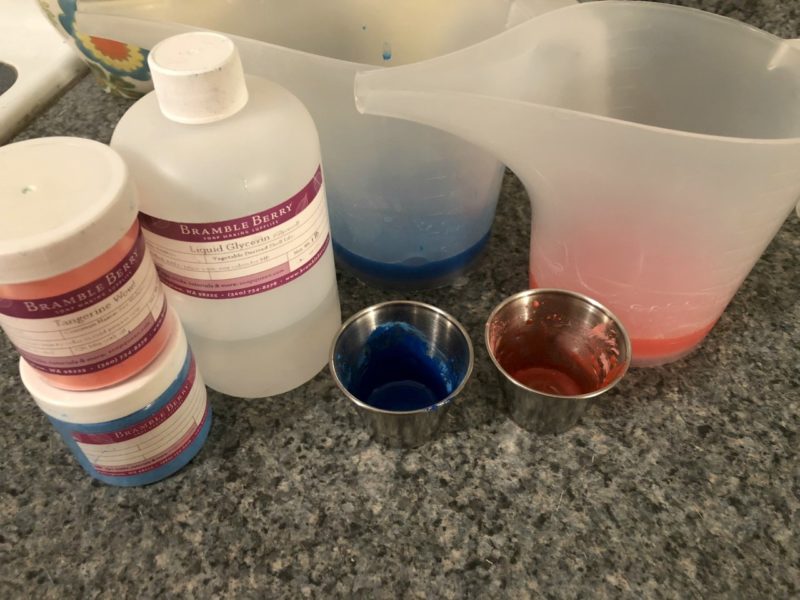
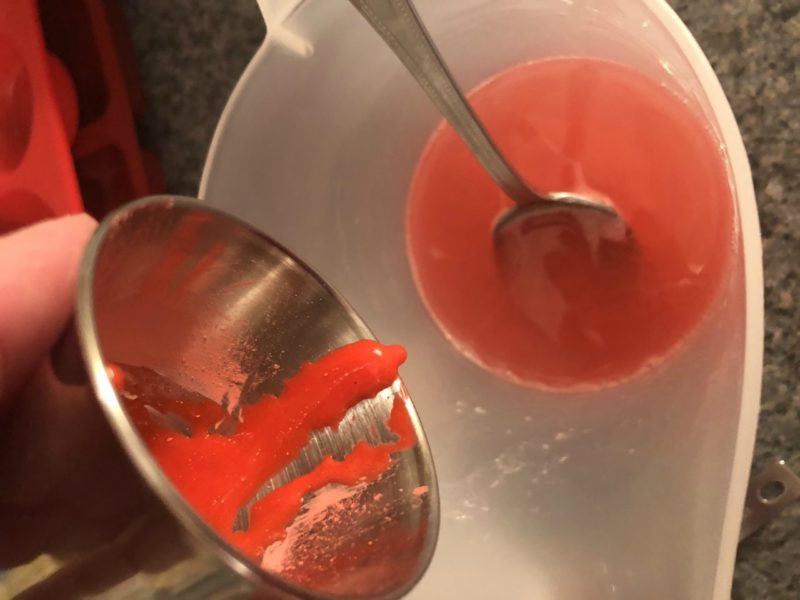
Add colors. Divide your melted soap base into separate containers for each color you will be using. If you are just using one color, add all of the color to your base. For colorants, you can use liquid soap coloring, powdered mica minerals, pigments, oxide colors, activated charcoal, cosmetic clays (like sea clay or rose clay), or color blocks made for melt & pour soap. Be sure whatever colorant you are using is designed for cosmetic use. Don’t use things like melted crayons or food coloring! If you are using powered color options (like mica or oxides), you should mix the powder separately in a small bowl with a little glycerin to smooth out any clumps.
Step 5
Add fragrance. Again, be sure any fragrance you add is skin safe and you are using appropriate amounts. Too much fragrance (either synthetic fragrance or natural essential oils) can cause skin irritation. The manufacturer of the fragrance should have provided you with safe usage amounts. Popular soap making company, Brambleberry, has a handy fragrance usage calculator you can find by clicking here. If you are using essential oils, you can find a usage calculator on Modern Soapmaking by clicking here.
Step 6
Mold up your soap. If you are just using one color and no additives, this is as easy as pouring your soap into the mold and spraying some rubbing alcohol on the top to pop any air bubbles. If you are using a silicone baking mold, you might need to support the bottom with a tray.

If your soap cools too much before you mold it, it will develop a “skin”. You don’t want to pour that in, it will make the final soap uneven in color & texture. You can remelt it in the microwave
Step 7
Unmold & use. One of the best parts of glycerin soap is you can use it right away. It’s great if you want to make the soap for gifts or if you are just impatient! Soaps in small individual molds will usually be solid in an hour or so. If you are making a large soap loaf, it might take several hours for it to fully harden. If you live in a humid climate, it’s best to wrap unused soaps in plastic as soon as it hardens to avoid glycerin dew. If you have shrink-wrap plastic that is best, but regular kitchen plastic wrap will also work.
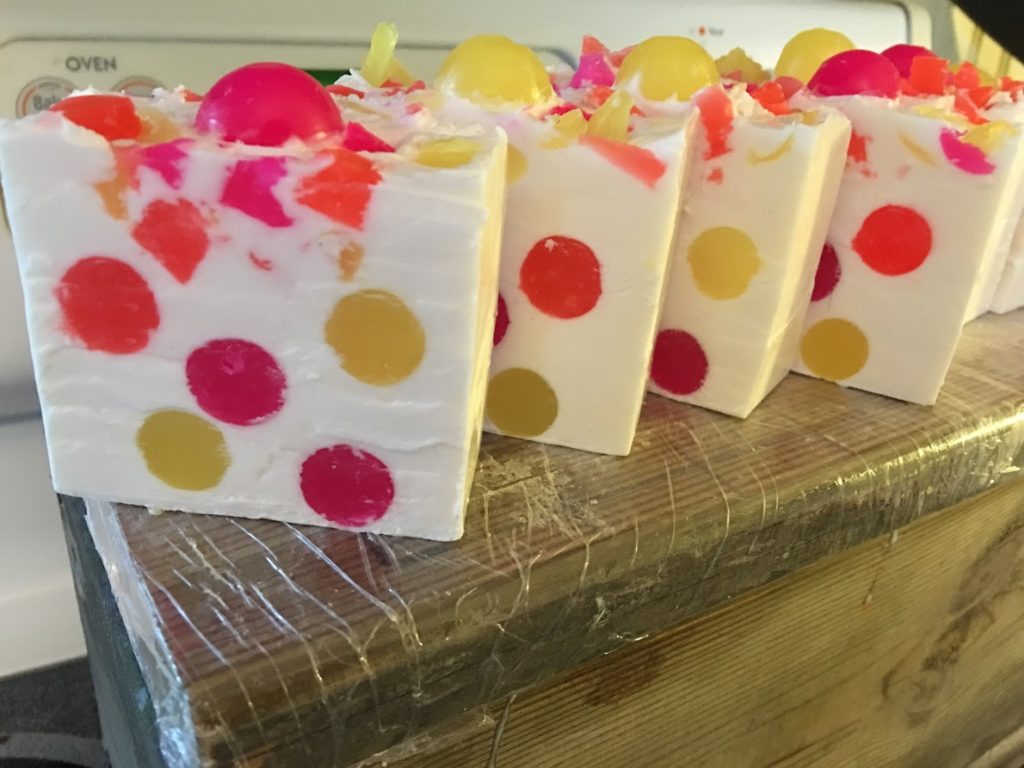
Designs
There are lots of options for fun designs with melt & pour soap. You can do layers, float soap embeds (small shaped soap pieces you’ve made earlier), you can include additives like ground oatmeal or dried flowers, you can even embed little plastic toys! When you are doing intricate designs, getting your soap to the right temperature is key.
Layers
Doing layers simply requires some patience, a thermometer, & some rubbing alcohol. Pour your bottom layer and spray some rubbing alcohol to pop air bubbles. As it cools, it will begin to develop a skin on the top and then the layer will begin to harden. It doesn’t need to fully harden, but you need to wait until the bottom layer is solid enough to support the next layer. The thickness of your layer & the starting temperature will determine how long this takes. Usually, it’s just a few minutes.
If the soap for your next layer begins to harden in the bowl, just pop it back in the microwave for a few seconds. Freshly melted soap base could easily be around 150-170 degrees. If you pour that onto the first layer, it will just melt the first layer and the colors will mix together. The ideal temperature for working with glycerin soap is between 110-125 degrees. An infrared thermometer is an easy way to keep an eye on the temperature. At 110-125 degrees, the soap base is cool enough that it won’t melt other layers, but hot enough it is still liquid.
You also need something to “stick” the layers together. If you just poured fresh liquid soap onto the first hardened base, it will separate when you try to use it. Rubbing alcohol is good for more than popping air bubbles – it is also a great “glue” to stick your layers together! Just before you pour the next layer, liberally spray the first layer with rubbing alcohol.
Embeds
Adding soap embeds to glycerin soap will be similar to layers. It’s all about waiting until the soap base is at the right temperature and consistency. If the soap is too warm & liquidity the embeds could just sink to the bottom, float to the top, melt, or have their colors bleed into the base. Too cool and the embeds might not be able to properly adhere to the soap. Aim for a temperature around 110-125 degrees. Rubbing alcohol is important for embeds too. Spray the soap surface and the embeds liberally with rubbing alcohol right before putting them together so the embeds won’t separate and fall out when you are using the soap. The same goes for “natural embeds” like sea salt or flower petals.

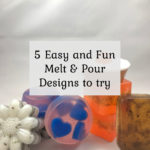
If you are interested in trying your hand at some design techniques, click here to check out my post “5 Fun & Easy Melt & Pour Soap Designs to Try”
Amber
Monday 14th of November 2022
I am not much know about soap making. But, this guide helps a lot.
Veronica Owusu Nkrumah
Friday 17th of June 2022
Please thanks very much for your designs. Glycerin melt & pour soap making is what i love most and continue to help those of us who want to start or come into soap making.
DeAnn
Thursday 11th of February 2021
Can you add goats milk to a glycerine melt and pour base?
Liz
Thursday 11th of February 2021
No, it would spoil. To make a goat's milk soap, you need to add the goat milk before saponification (when the lye & oils are mixed). In glycerin bases the soap is already saponified. BUT you can buy goat milk melt and pour bases like this one: https://www.brambleberry.com/shop-by-product/ingredients/bases/stephenson-goat-milk-melt-and-pour/V000795.html#q=soap%2Bbase&lang=default&start=10
Kiss Naturals
Wednesday 11th of November 2020
Thanks for sharing such an amazing blog. I really appreciate it , keep sharing.
Boni Noftsger
Wednesday 1st of July 2020
Question How do you get glycerin soap to bubble when being used. My Dad wants bubbles.
Liz
Wednesday 1st of July 2020
There are SOOO many melt and pour bases available and they definitely aren't all created equal. Many glycerin melt & pour bases are by nature going to produce bigger bubbles than cold process soap. If you get a creamy base made with goat's milk or one with a lot of butters (shea butter, mango butter, etc) those will cut down on the bubbliness. Some bases have added foaming agents, like sodium laureth sulfate, to produce extra big bubbles. If you are interested in trying out one like that, I would recommend Crafter's Choice base https://www.wholesalesuppliesplus.com/products/basic-mp-soap-base-white-2-lb-trays.aspx